| Willipedia is now back online as of 5/5/2019 |
| It has been several years since Willipedia closed. Please help get it updated! |
| Go to the Willipedia 2.0 Project to learn more. |
Help:Pictures
This page will tell you how to sprinkle your article with photos, as in the Cribbage article.
1. Upload the picture
- To ensure a smooth upload, ensure your photo is a reasonable size. If you open it up with whatever photo program you use, and a zoom of 100% lets you count nose hairs, it's probably too big. The software recommends a size limit of 140 KB; 400KB is as high as you should go. Most image programs have resize features to help you out.
- Log in
- Visit the Special:Uploadfile page.
- Select the image from your computer, and give it a unique Destination name. It's a good idea to include the approximate date, e.g., "Jimmy getting funky at Bhangra After-Party - May 2006.JPG")
- Add any additional notes in "summary."
- Click "Upload file."
2. Add the picture to an article
- Now your image should be on the server. To include it at fullsize in your article, you link to it almost like you would an article: [[Image:Only5aday.jpeg]] produces
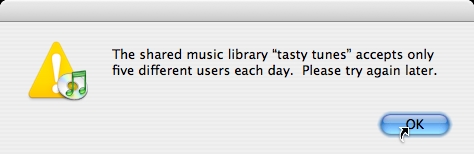
Note that the picture is fullsize and placed directly in the line of text, where you linked to it.
Placing the picture. It makes sense to make a small, diagram-like illustration like the one above appear fullsize in an article about it, but do you really want it right in the line of text like that? I didn't think so. You can make a picture stick to the right side of the page using a link like the one below. To have it stick to the right, just replace right with left.
[[Image:Only5aday.jpeg|right]] produces

See how the top of the picture is at the line where we put the link, but the picture is on the left side of the screen, and the text of this article wraps neatly around it? This is probably the effect you'll want most often.
- [[Image:Jimmy getting funky at Bhangra After-Party - May 2006.JPG|right|thumbnail|Look at Jimmy go! After-party 2K6.]]
That is, you'll have "Image:" followed by the image name you chose, then a pipe ("|"), then the alignment you want ("left" or "right"), then the size (either "thumbnail" or some number of pixels, like "200px"), then another pipe ("|"), then the caption. All between two brackets. Make sense?
If you want to include a photo in the "info box" on a group page, just add something like this to the info box:
| image = Jimmy getting funky at Bhangra After-Party - May 2006.JPG
And it'll show up just below the group's name.